AmyKawaii
Let's go kawaii!
  • Home
  • DIY-Blog
  • Whatever Forever Blog
  • Kawaii printables
  • Chat
  • About-ME
  • games
    • Games 2 >
      • games 3
  • music
  • polls

Kawaii bracelet

6/22/2013

5 Comments

 
Foto
Foto
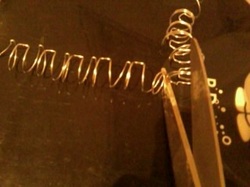
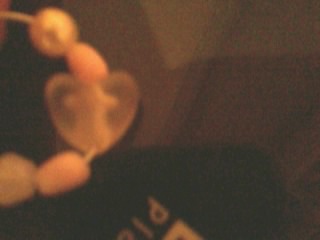
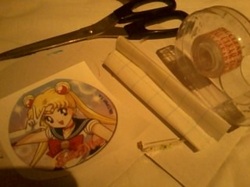
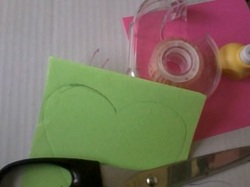
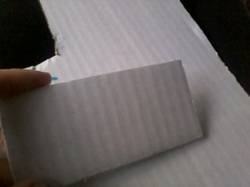
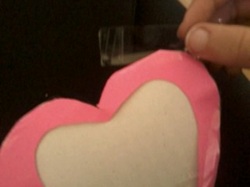
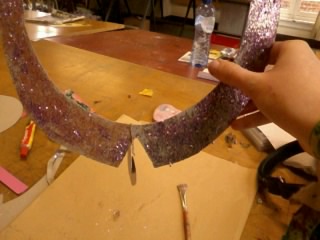
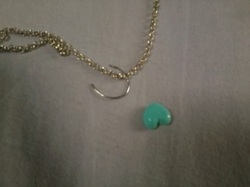
You need ; a piece of a ring from your writingpad or notebook, a pearl and a piece of an old necklace/bracelet...

Foto
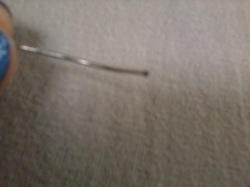
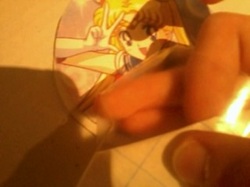
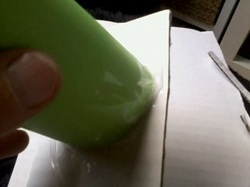
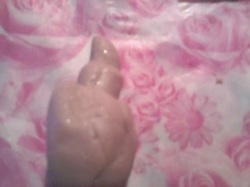
Step 1; bend your piece of a ring flat.

Foto
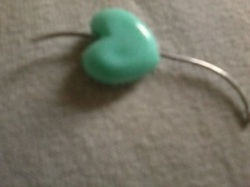
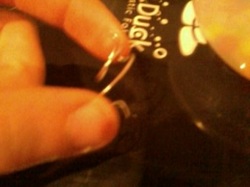
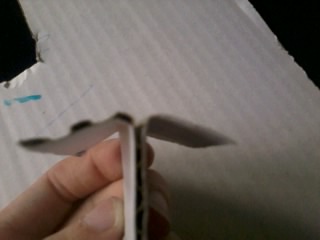
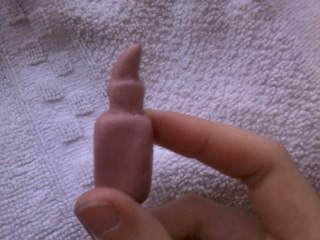
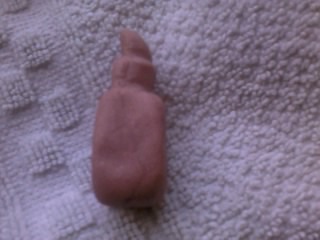
Step 2; add the pearl and fasten the ends of the ring on your piece of necklace.

Foto
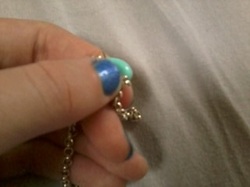
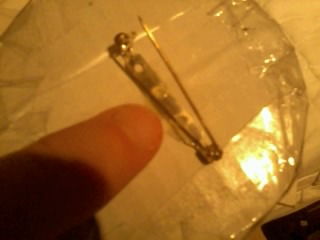
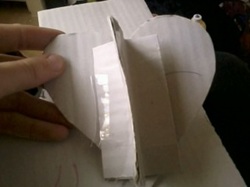
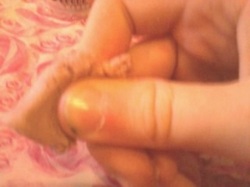
Step 3; push the ends until they are flat.

Foto
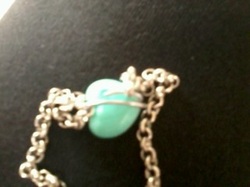
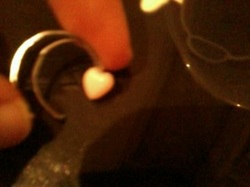
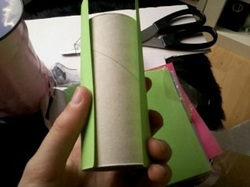
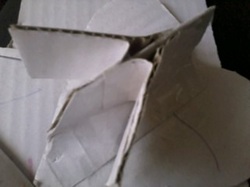
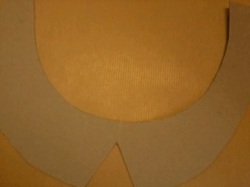
This is how the back looks.
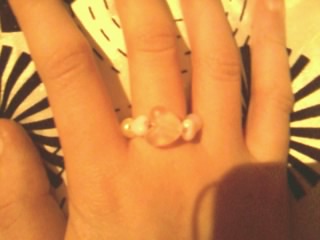
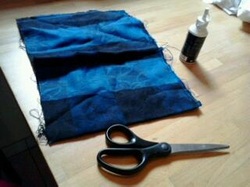
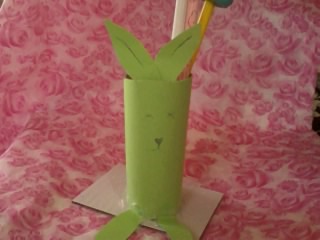
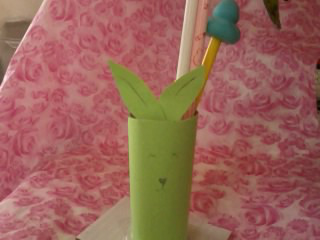
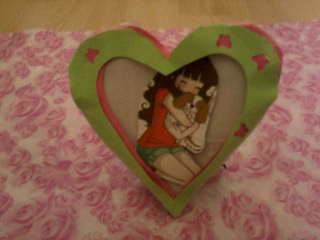
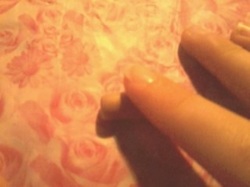
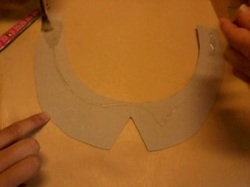
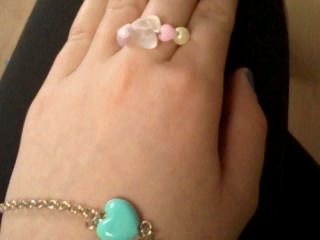

You're ready!

Foto
5 Comments

Kawaii ring

6/22/2013

1 Comment

 
Foto
Foto
Foto
You need; pair of scissors, pearls and rings of an old writing.

Step 1; Cut a piece from the rings.

Foto
Step 2; bend the rings of the old writing.

Foto
Step 3; Add your favorite pearls and bend the ring with pearls around your finger  and you're ready!

Foto
1 Comment

Pimp your bag

6/21/2013

5 Comments

 
Foto
Foto
You need; an old purse,.. stickers, a glitter pen and a fake daimond

Step 1; draw with the glitterpen a cute draw on your purse.

Foto
Step 2 ; Add stickers somewhere.

Foto
Step 3; You can glue the fake daimond perfect on your purse!
It sticks good!


Well... You're ready!

5 Comments

Sailor Moon button

6/14/2013

5 Comments

 
In the name of the moon, I'll punish  you!
I'm a big fan of Sailor Moon. She returns! New episodes are coming out, I don't know when but normally this year.
If your also a fan well then this blog is really something for you! We're going to make a button!!! Let's go!


Step1; You need a picture of Sailor Moon ( if you don't have one you can print here one out), tape,carton and a safety pin.

If you don't have a picture, print this out!

Foto
Foto
Step 2 ; Glue the picture on the carton and cut them out.

Foto
Foto
Step 3 ; take your safety pin and tape that on the back of your carton.

If you want to strengthen it you can do some large (transparent) sheet tape on it.

Foto
Foto
5 Comments

kawaii bow blue

6/14/2013

4 Comments

 
Foto
What do you need?

fabric (your choice)
scissors
glue

Foto
Fold the fabric

Foto
glue the pasted pieces

Foto
cut the remaining pieces away

Foto

Foto
Fold the piece to the middle

Foto
glue that piece

do that at the other side the same
Foto
vouw het dan samen, dan krijg je dit

glue that.
Foto
suit again dust, and make a strok of

Foto
do it around the bow, and glue the

Foto
TADAA 

4 Comments

Kawaii rabbit (sweet for your pencils)

6/14/2013

1 Comment

 
Foto
Foto
You need; a pen ,a pair of scissors, carton, tape, one colored page and a toilet roll.

Foto
1; tape the colored page on your toilet roll.

Foto
2; cut from the same colour four ovals with a dot.

Foto
3;Tape 2 of them at the top and the other 2 at the bottom.

Foto
Foto
4; draw a face on your rabbit.

Foto
5; cut a piece from your carton and at that on the bottom of your rabbit.


Add pencils and you're ready!


I hope you like it. Cause now I'm thirsty so I'm gonna cetch a glass of water! ;)

Foto
1 Comment

Kawaii frame

6/14/2013

0 Comments

 
Foto
Foto
You need; carton, pair of scissors, a picture, tape, 2x colored paper

Foto
1;do the colored papers and the carton on eich other and cut there a heart out.

Foto
2; cut from those 2 colored hearts 2 other hearts out.

Foto
Foto
3;Then you can take a hole punch and use that only on one of the two hearts!

Foto
4;then cut another piece of your carton and folg the upside away from one another

Foto
Foto
5a;Tape the piece of carton on your carton heart, now your heart can stand.

Foto
5b; you don't need to do this step.
But if you like to strengthen your carton heart you can put 2 other little strips on the big strip.

Foto
6;Then tape the 2 colored hearts on your carton heart.

Foto
7; Add a picture and you're ready!

0 Comments

Kawaii charm (lipgloss)

6/2/2013

9 Comments

 
Foto
Foto
You need; clay (from a hobbykit) and a needle

Foto
Step 1; knead a part from your clay until it's warm and fine.

Foto
Step 2; roll that part and make details fine with your needle.

Foto
Step 3; knead a second part and fold that around your first part.


Foto
Step 4; make evrything fine with the needle and let it dry 24 houres.

Foto
9 Comments

Kawaii glitter collar

6/2/2013

5 Comments

 
Foto
Foto
You need; glue,paint brush, glitter,carton (and accessoires)

Foto
Step 1; take your carton and do glue on it.
Smooth it out all over the place with your paint brush.

Foto
Foto
Step 3; do the glitter over the wet places.

Foto
Foto
( step 4; add accessoires)

Foto
5 Comments

Kawaii printables

6/1/2013

5 Comments

 
Foto
Foto
Foto
Foto
Foto
Foto
Foto
Foto
Foto
Foto
Foto
Foto
5 Comments
<<Previous
    panauhin


    Amy

    Let's go Kawaii

    Kawaii

    April 2015
    Maart 2015
    Juni 2014
    Februari 2014
    Juni 2013
    Mei 2013

    Foto

    Kawaii

    Alles

Powered by Create your own unique website with customizable templates.