AmyKawaii
Let's go kawaii!
  • Home
  • DIY-Blog
  • Whatever Forever Blog
  • Kawaii printables
  • Chat
  • About-ME
  • games
    • Games 2 >
      • games 3
  • music
  • polls

Cute Brush

6/28/2015

0 Comments

 
Picture
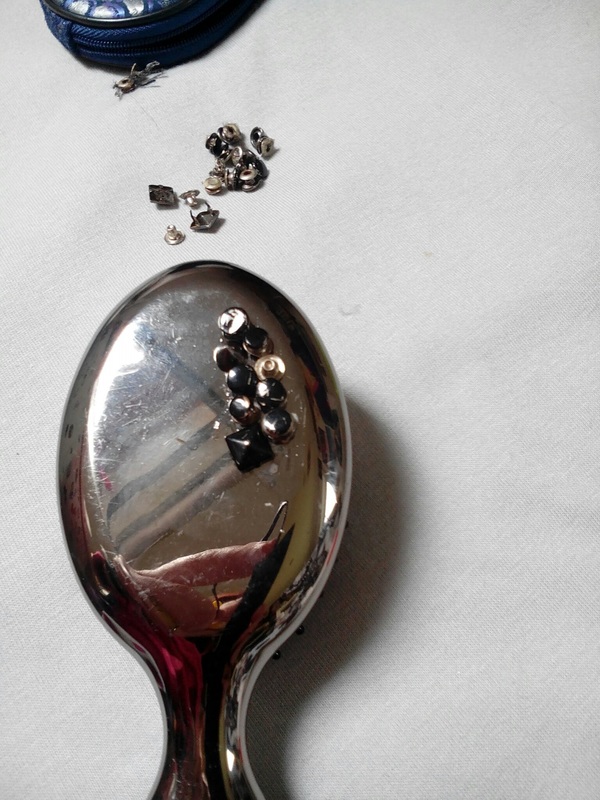
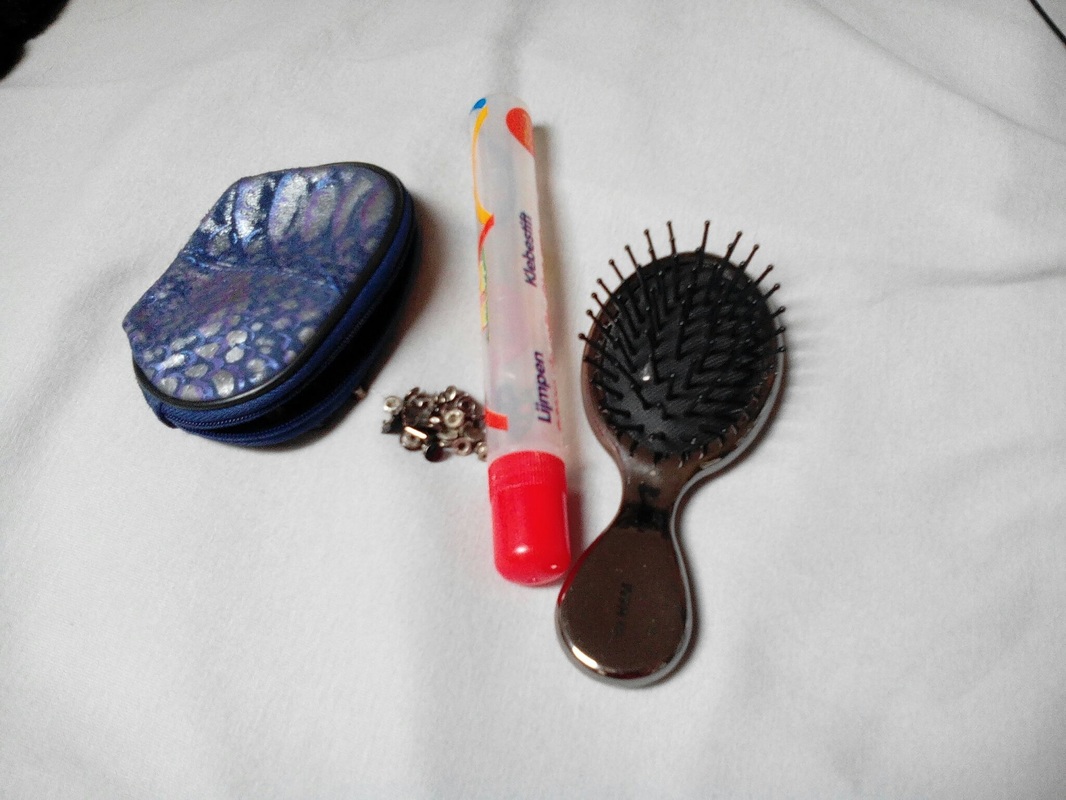
you need; some glue,
an old brush,
some gems ( I use spikes here)

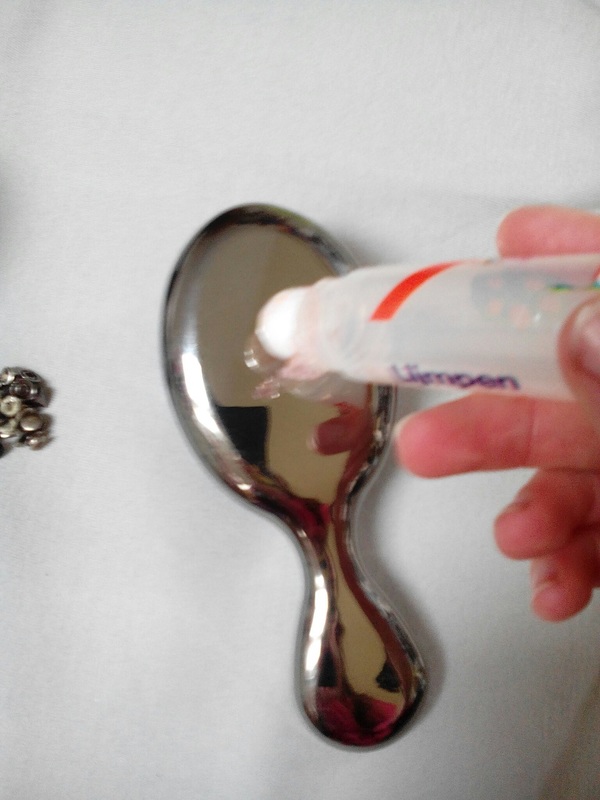
it's really easy. I just put the spikes randomly on my old brush.
then you glue them of course , you could also add some nailpolish to add accents.
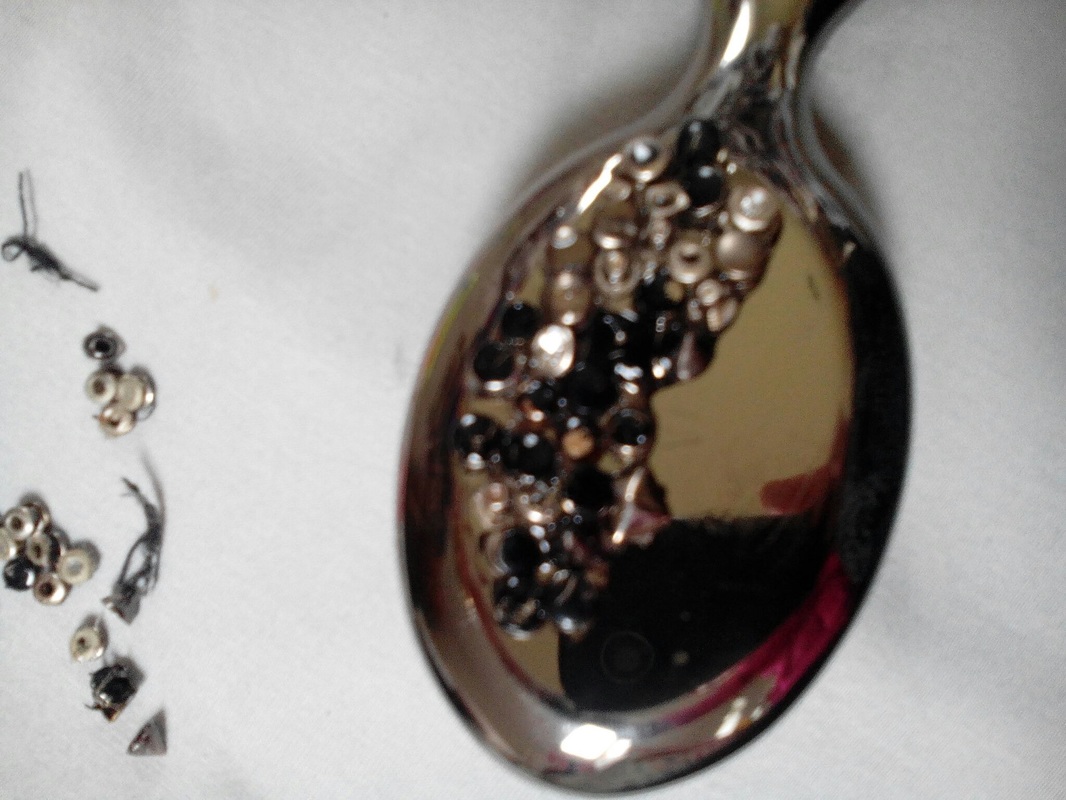
Picture
(you can find gems of spikes in your local hobby/craft shop, I used here old gems from my old shoes LOL)
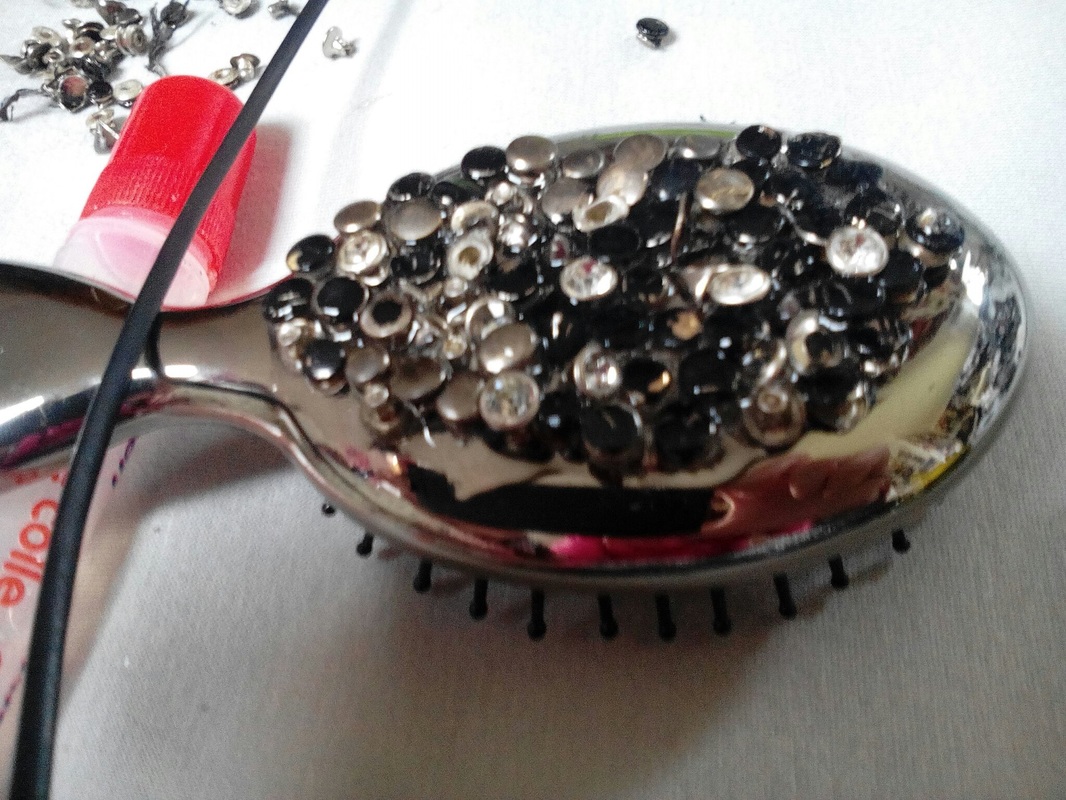
Picture
Picture
Picture
0 Comments

Kawaii mug....

4/25/2015

1 Comment

 
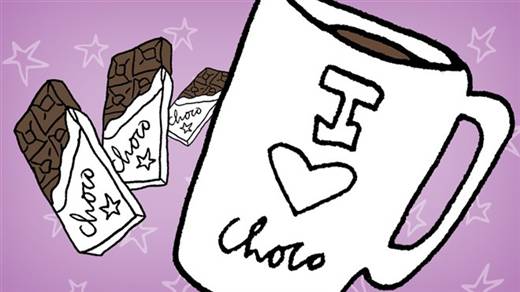
You need an old mug a marker and this picture
<----------------------------------


Step 1; cut out this picture and attach it with tape on your mug.
Step 2; You can now easilyright on your mug without slipping out.
Step 3; when you're done writing on your mug you dettach the  picture and you have a perfect decorated mug!
Foto
1 Comment

Let's draw!

3/29/2015

0 Comments

 
In this little video I show you how to draw cute gems.
Foto
Foto
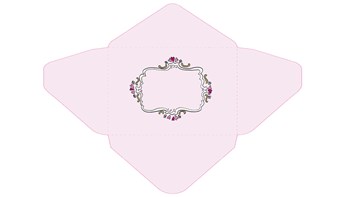
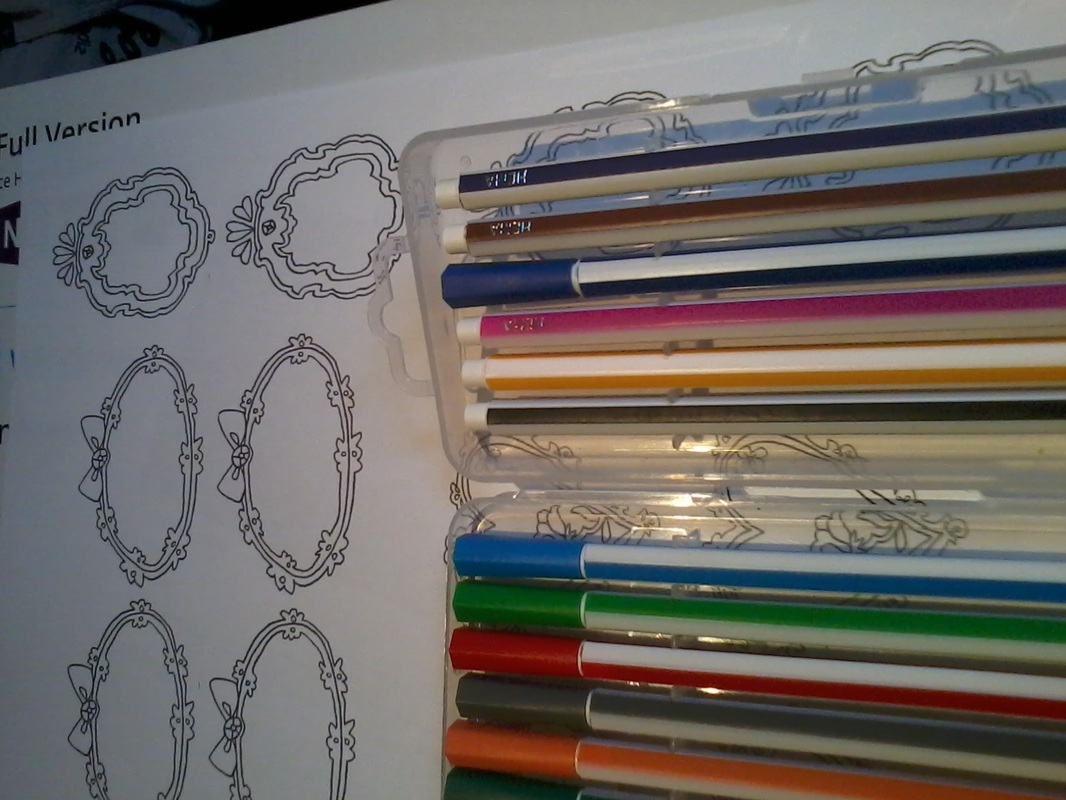
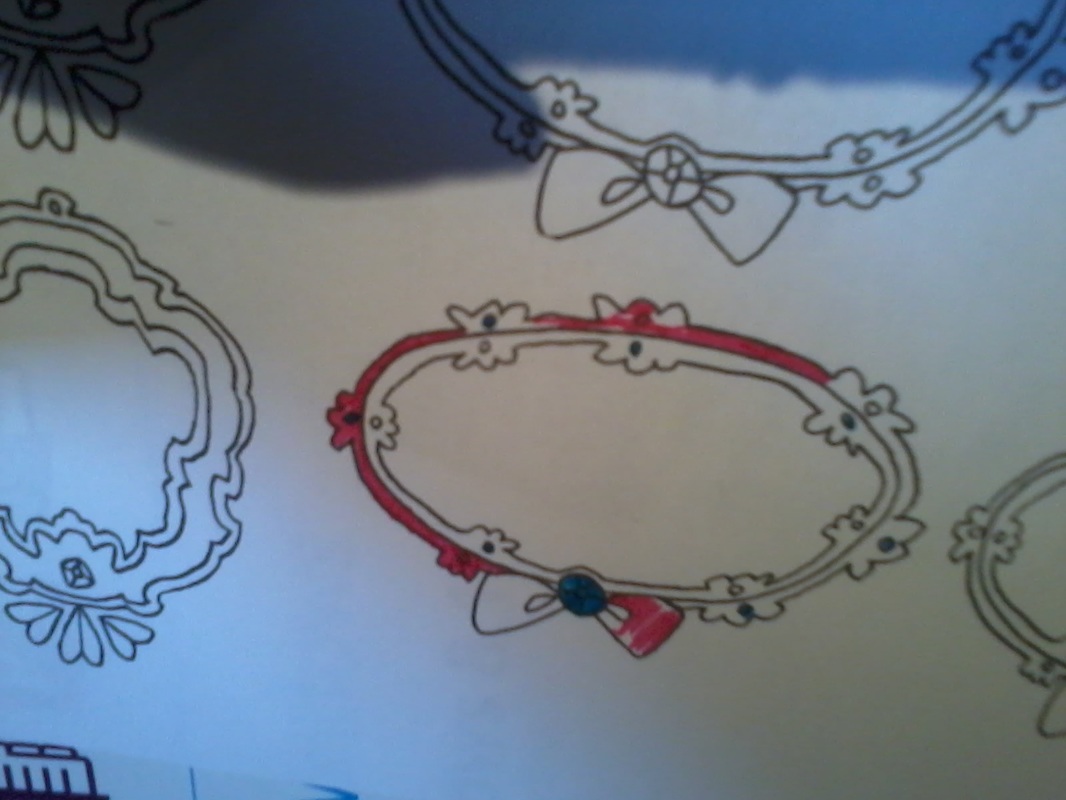
Print out this cute name label and this kawaii envelop and decorate them!
0 Comments

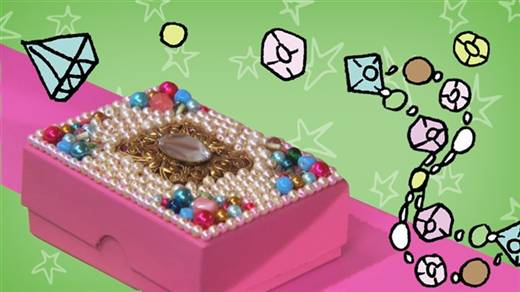
Jewelry box

3/22/2015

0 Comments

 
Foto
Picture
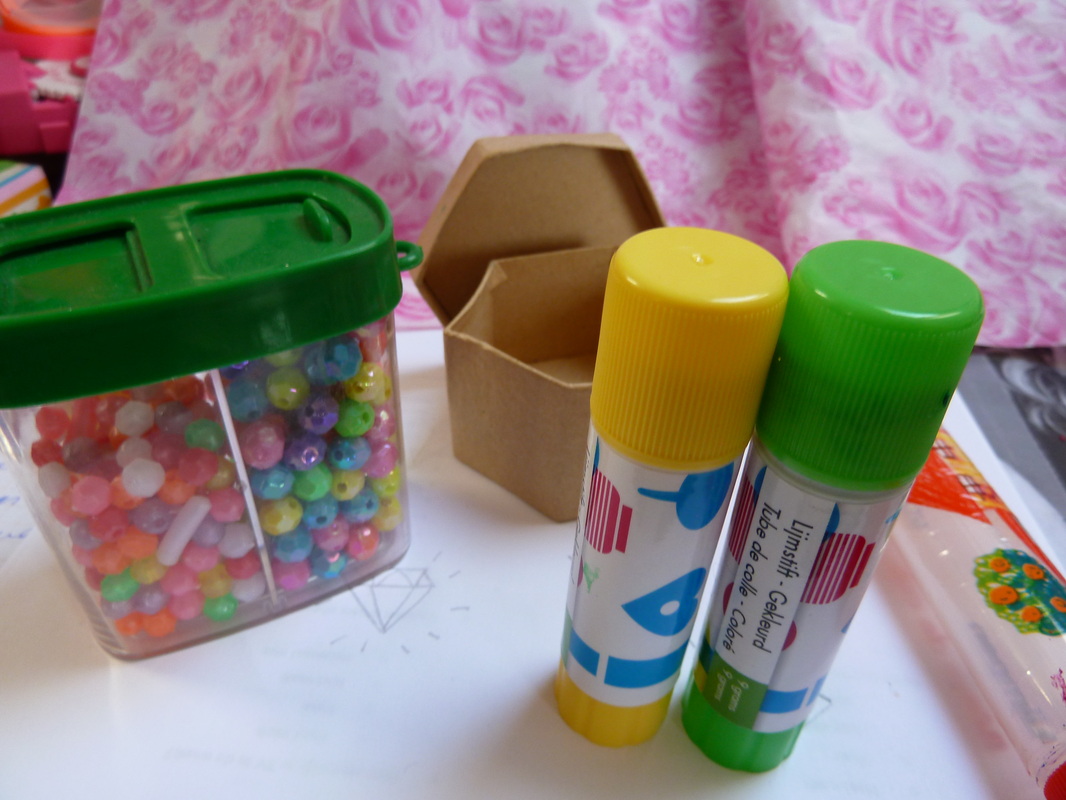
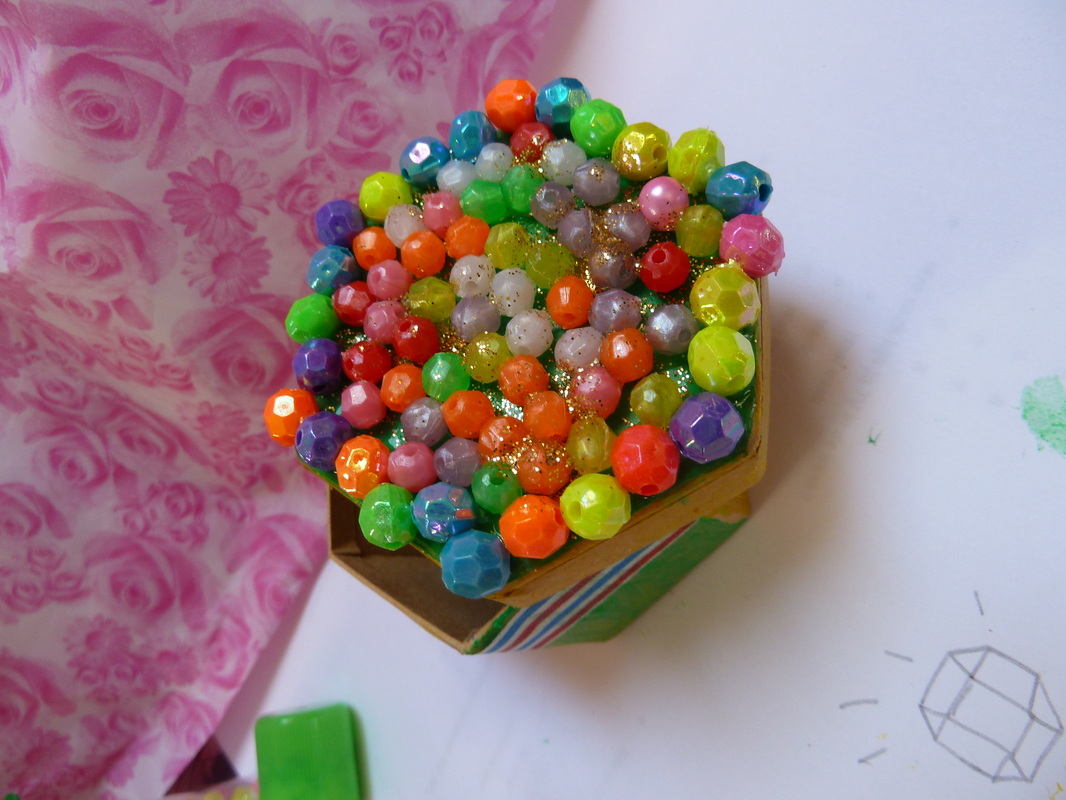
You need;
- lot of pearls or gem-stickers
- glue
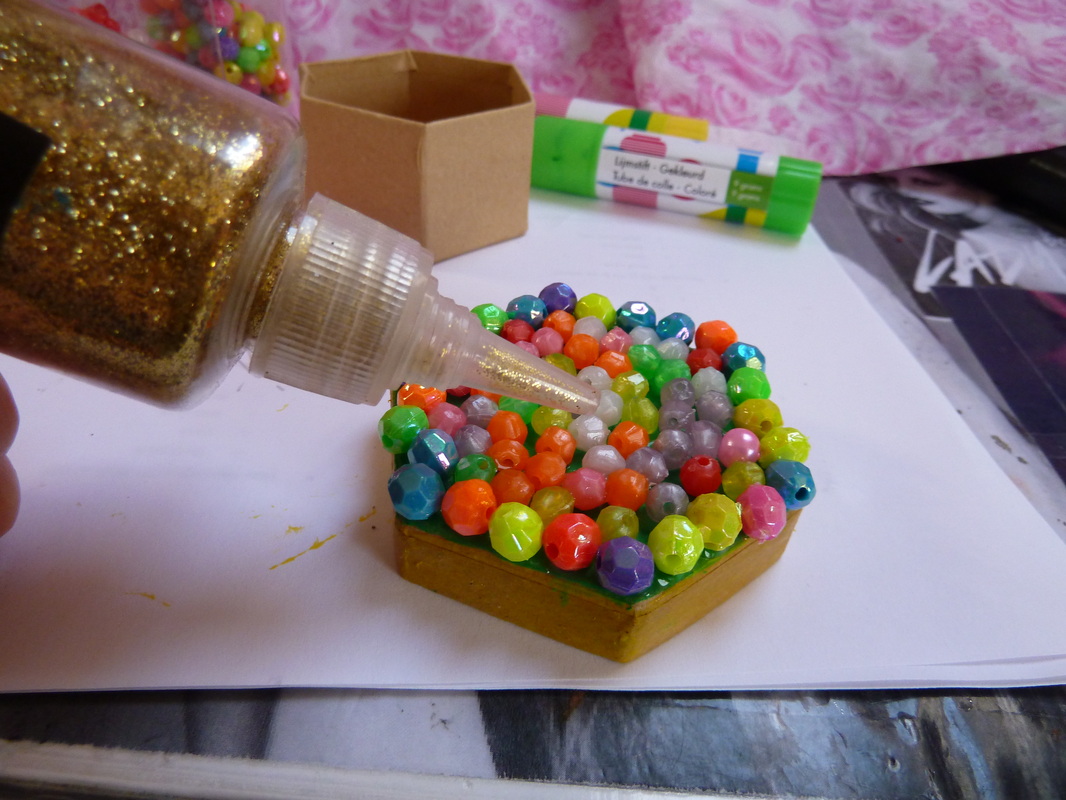
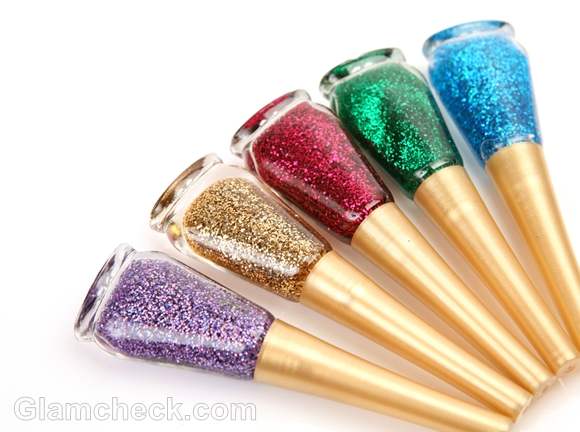
-nail polish
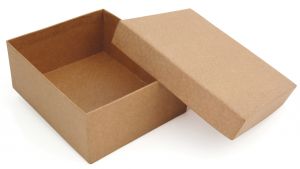
- old little box
-paint


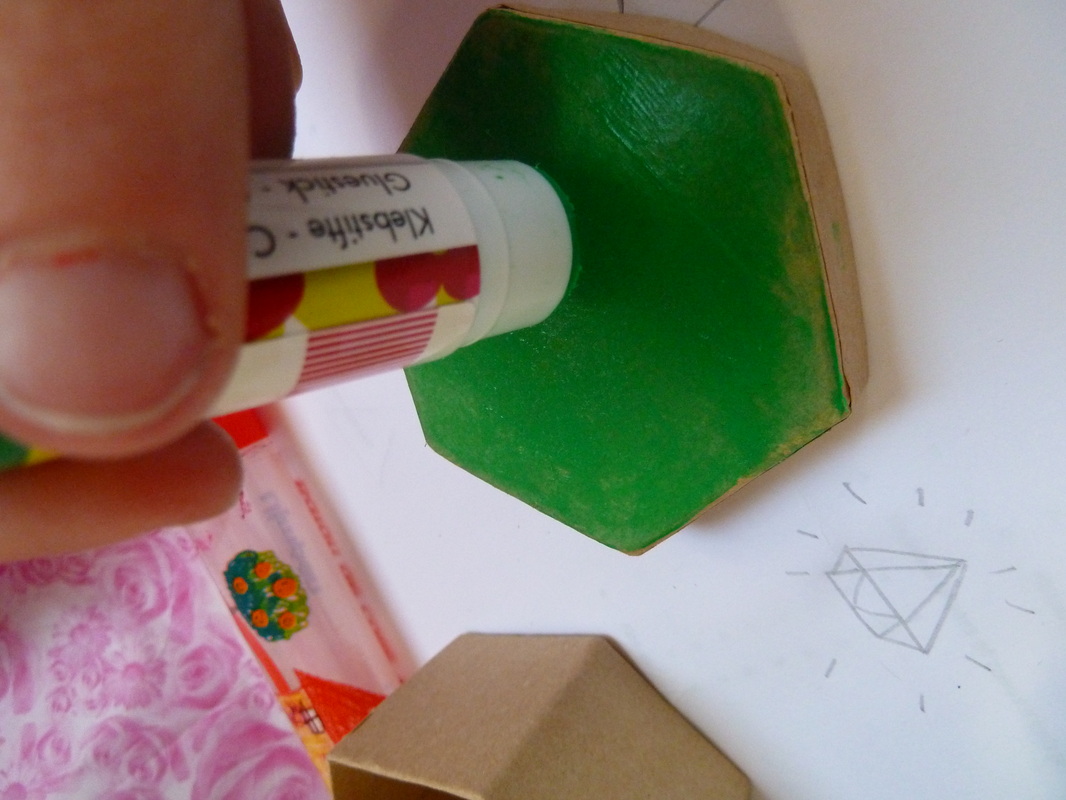
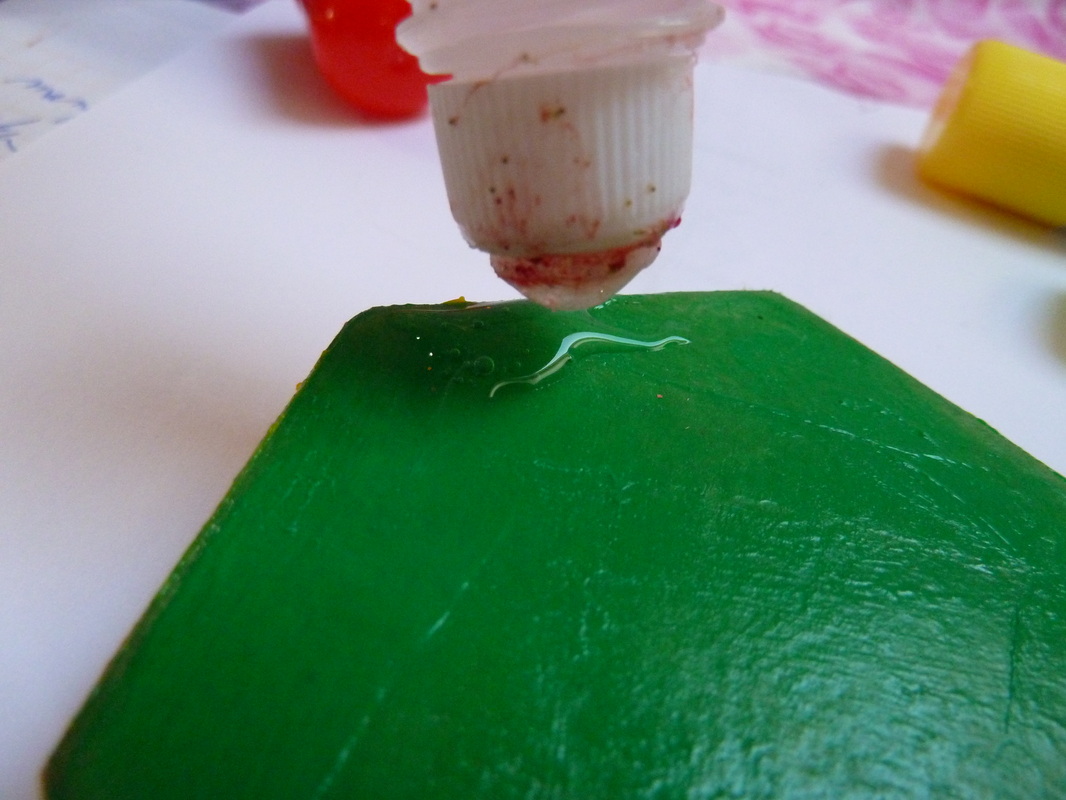
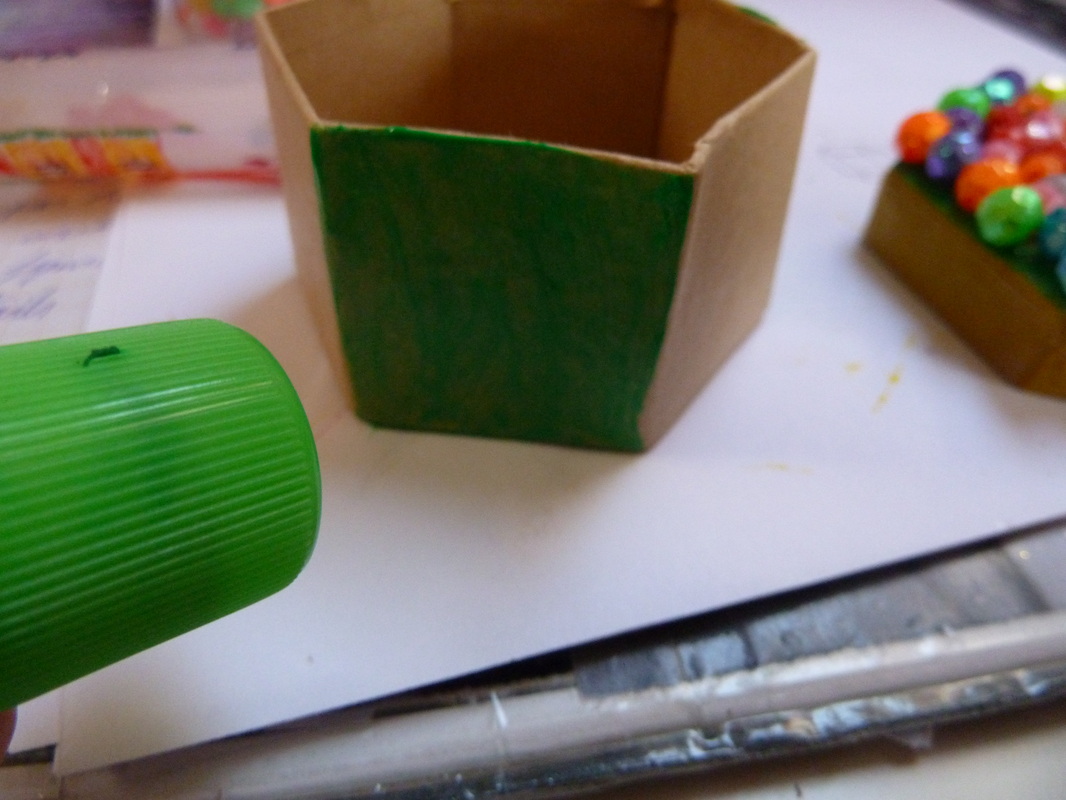
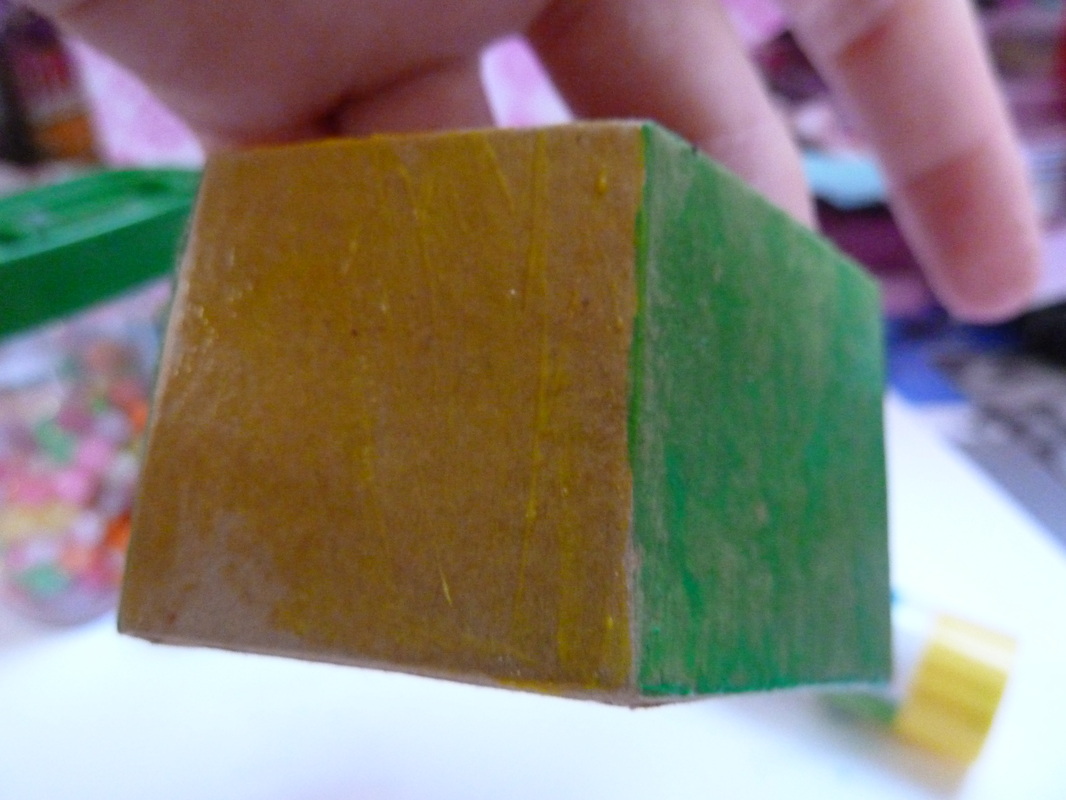
Step 1- paint the in- and -outside of your box in your favourite colour
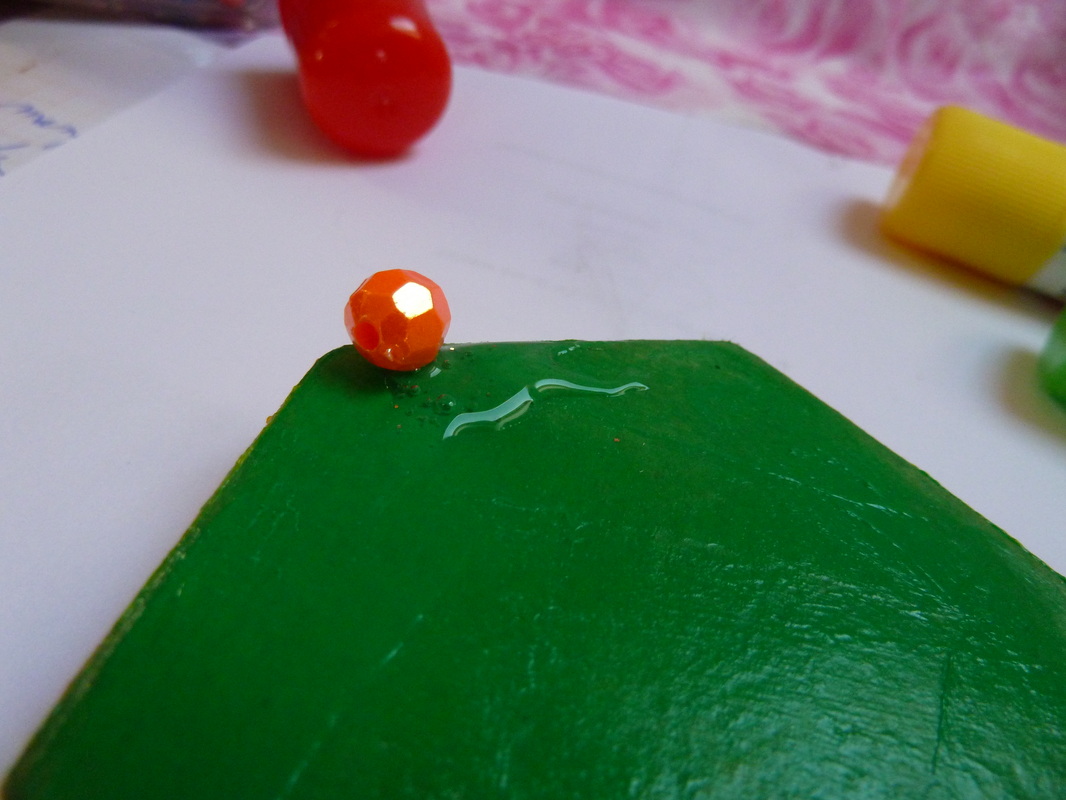
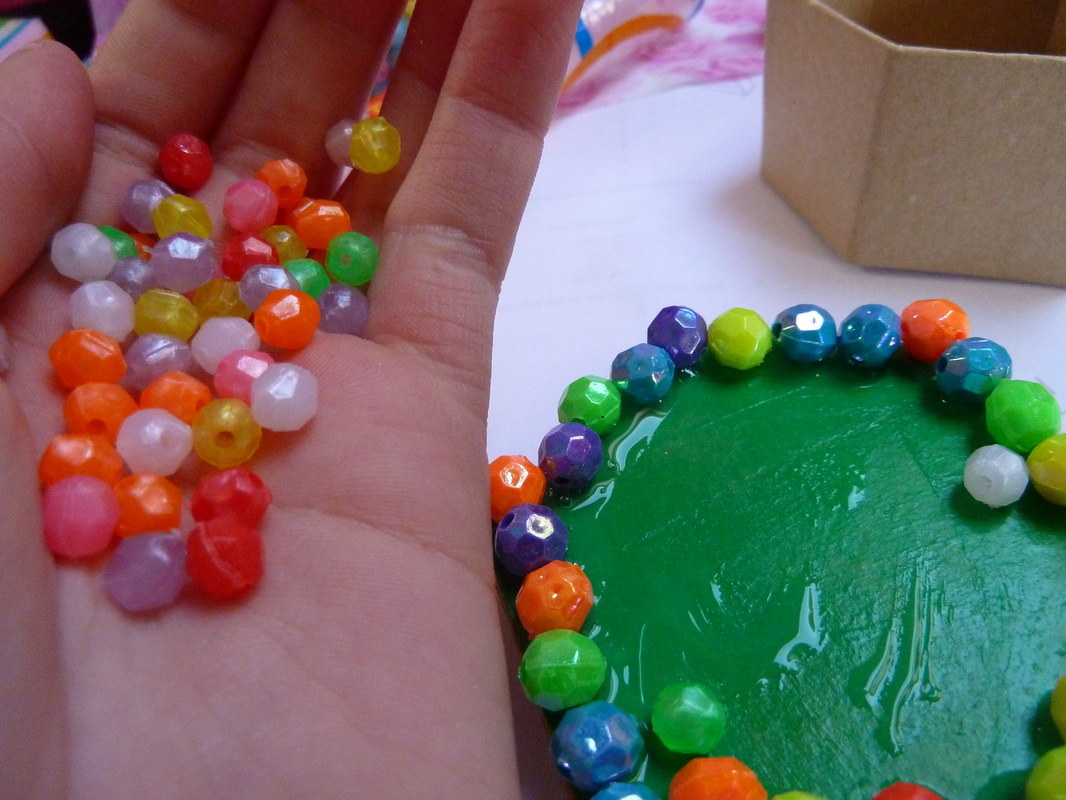
Step 2- choose the gems and pearls you want to put on your box
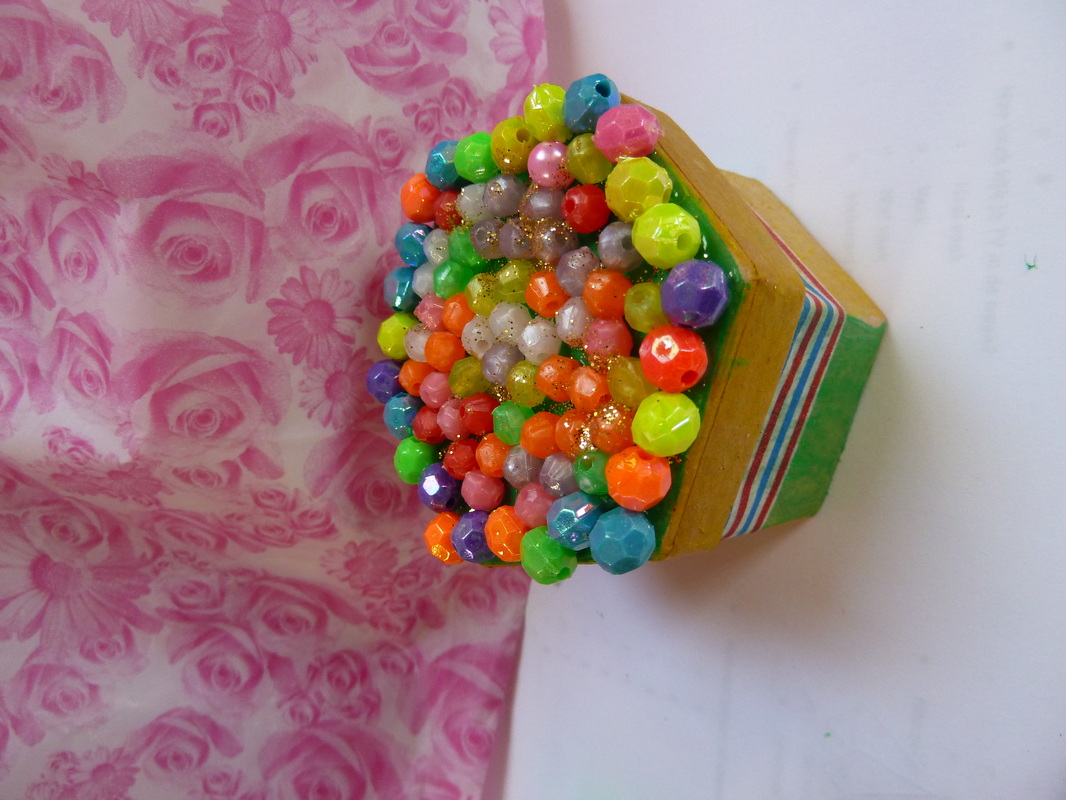
Step 3- when your box is dry , you put and glue the pearls on your box
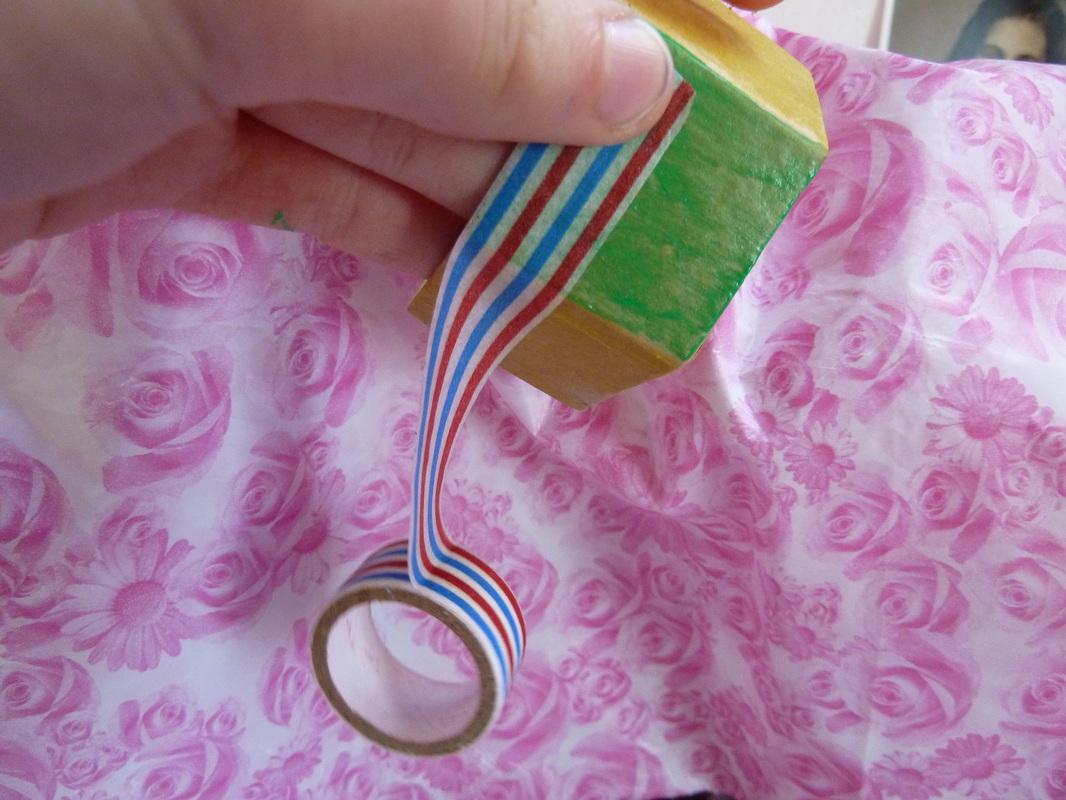
Step 4- You can also put pictures of you and your friends on the box and gift it as a present!


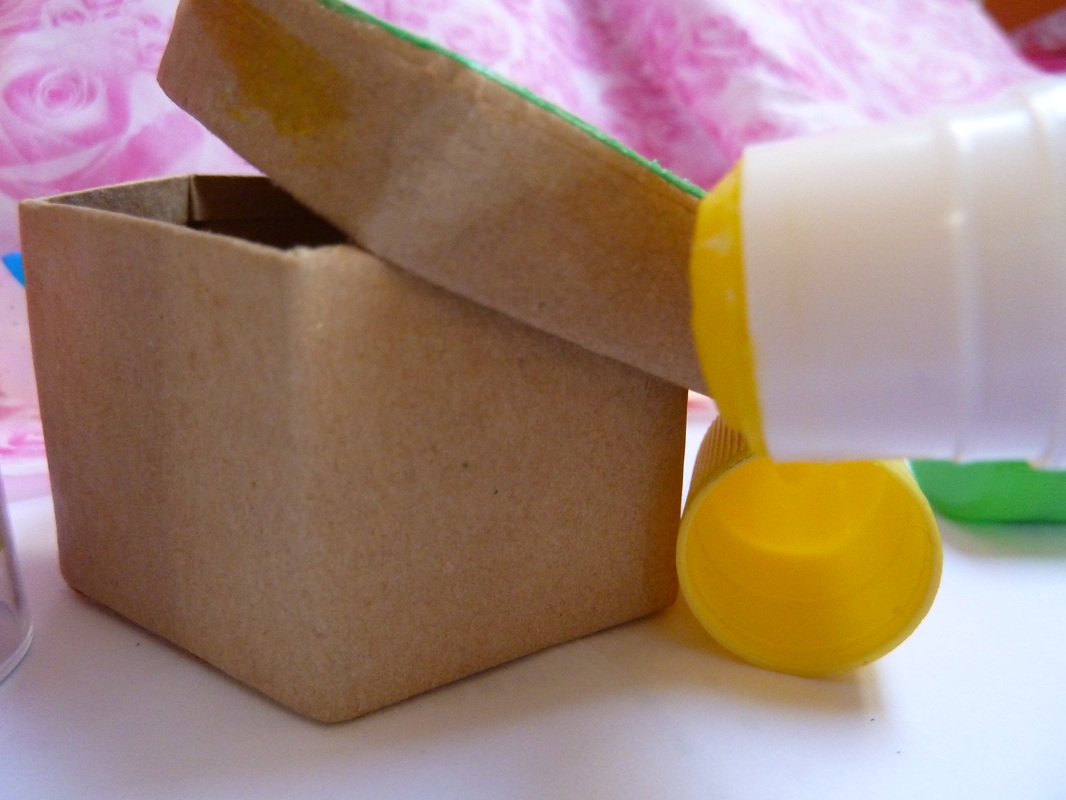
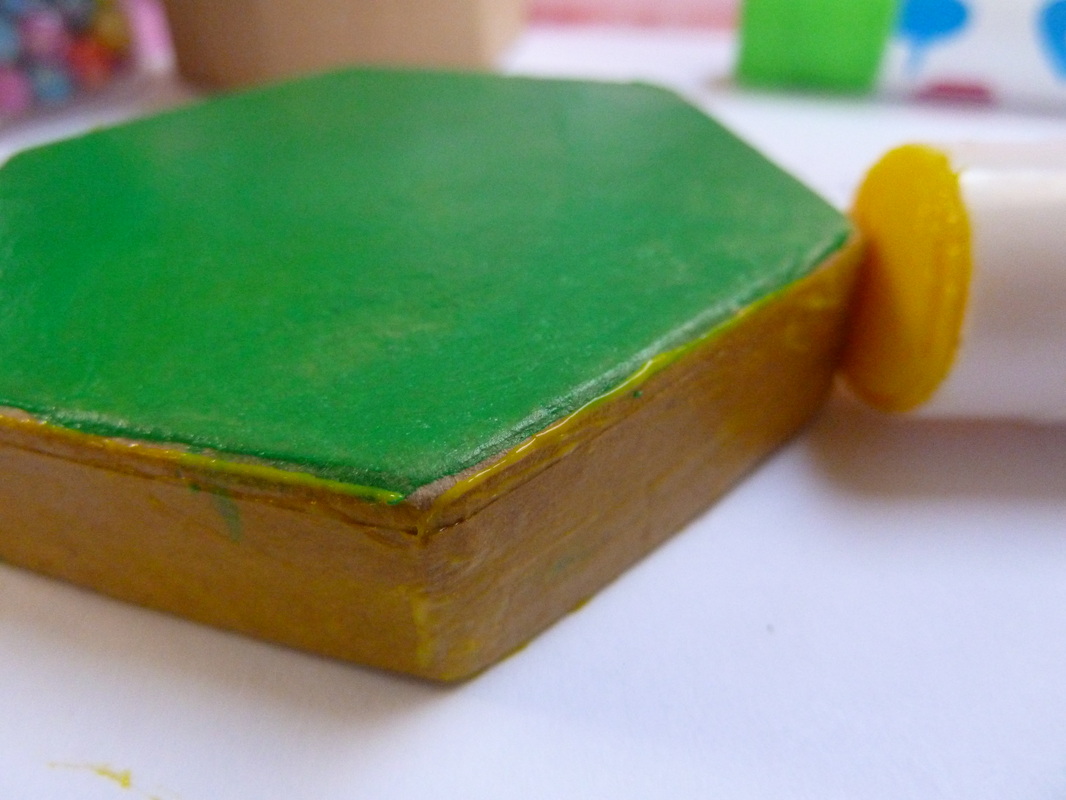
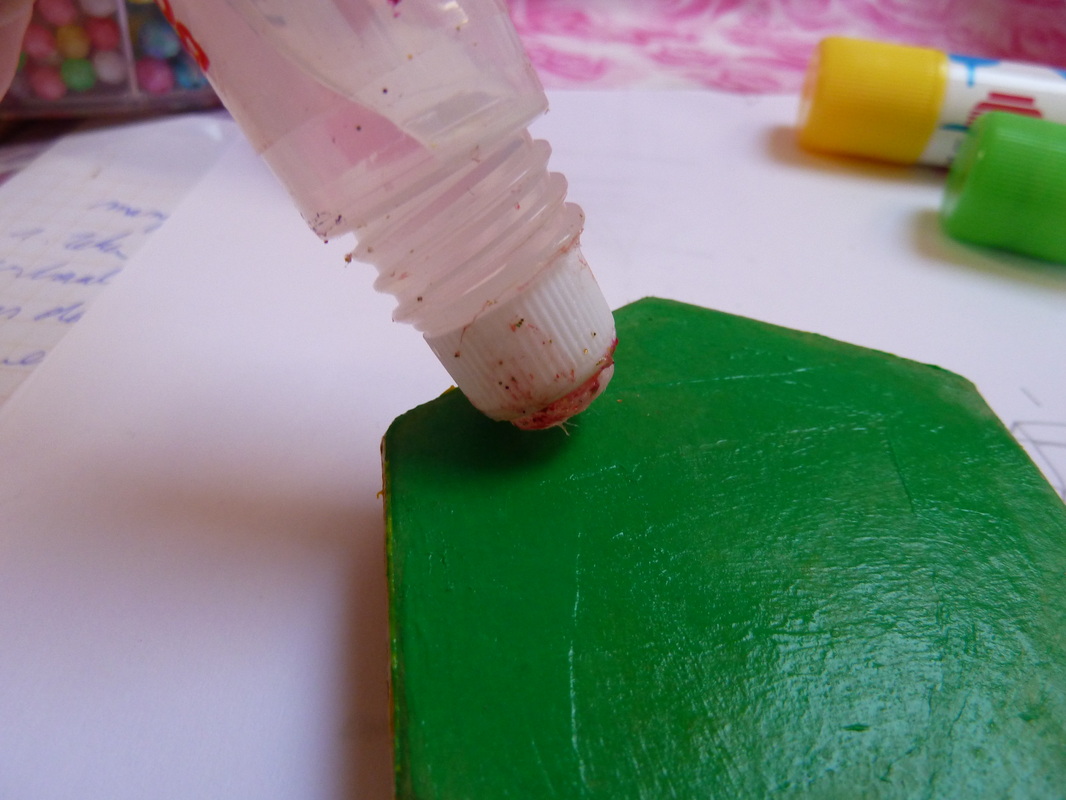
If you don't feel like ainting, you can also use coloured glue ( see pictures)
You use them as coloured crayons and let them dry before you add the glue :)
0 Comments

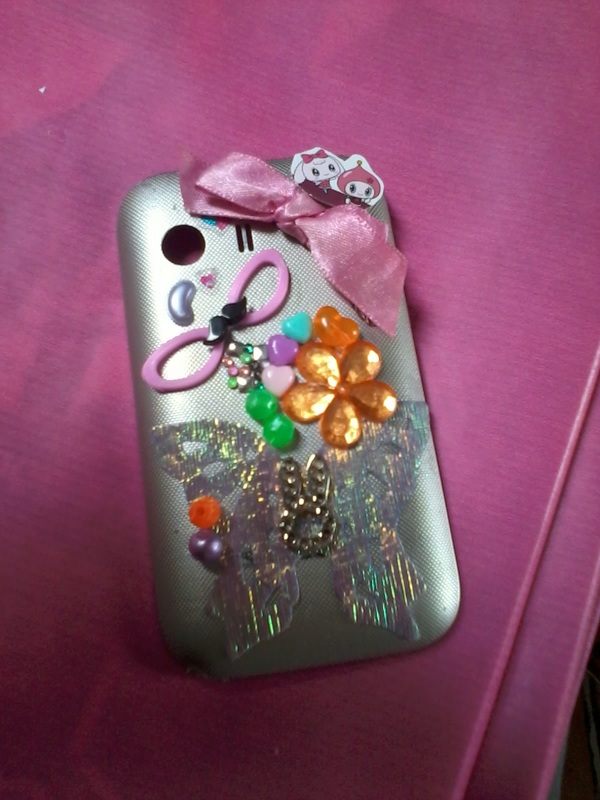
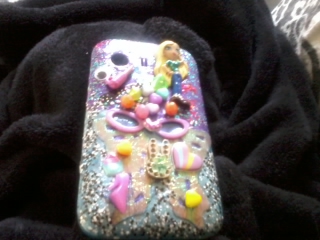
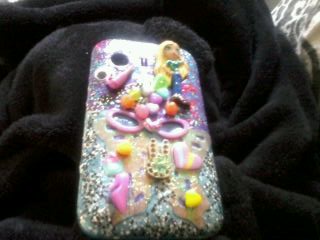
Decorate your cellphone case

3/15/2015

0 Comments

 
Foto
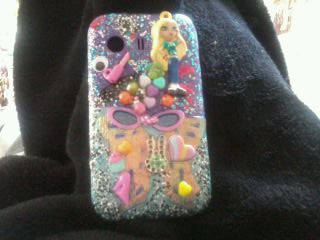
You need;
- nail polish
-stickers
-old little toys (barbie shoes for exemple)
Step 1- choose the items you want to put on your phone
Step 2- place them on the right order on your phone
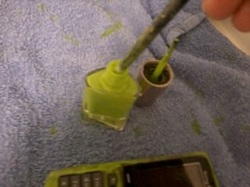
Step 3- cover up the back ground of your phone in your favourite colours of polish
Step 4- Put on the objects immediately  on the wet cellphone case, so it'll stick
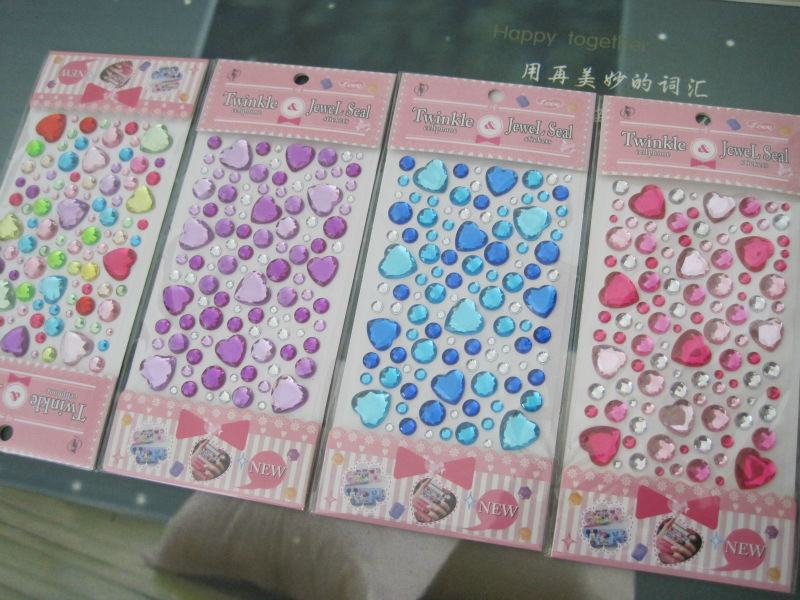
Step 5- when your cellphone case is dry add stickers (gem-stickers or nail art stickers fit the best!)
Step 6- when you're done decorating put over everything an extra lay of transparant nail polish.
The transparant nail polish will take care that everything will stay on its place and it also protects the case a bit more


Foto
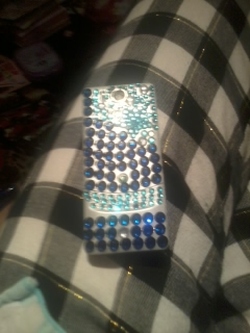
If you're a bit in a lazy mode you can just decorate your cellphone with some cute gem-stickers!

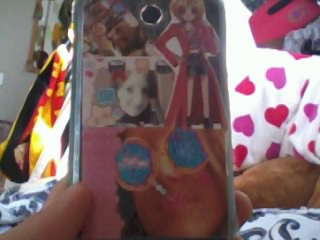
You can also just tape pics of you and your friends on the back of your cell !

Foto
Picture
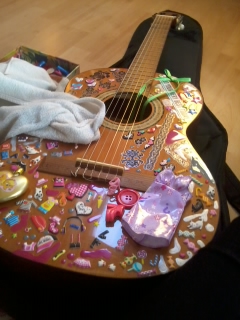
You can also decorate other objects the same way!

My old guitar for example :P

0 Comments

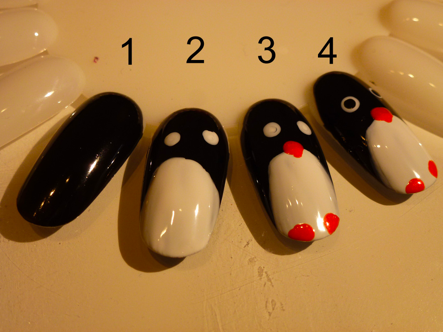
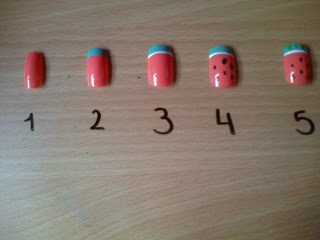
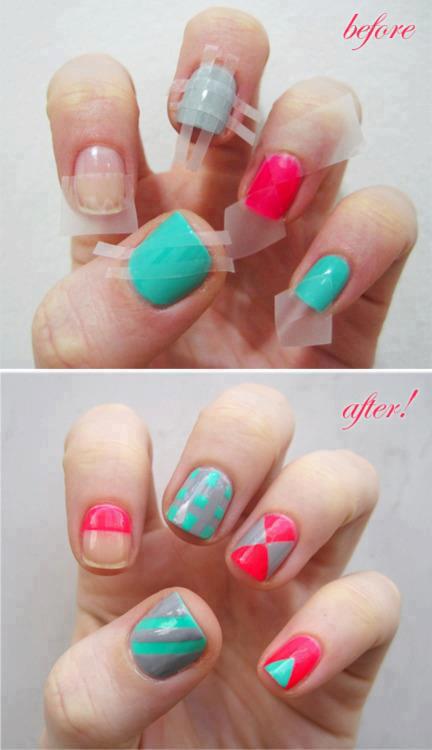
Nail art

3/8/2015

0 Comments

 
Foto
Foto
Foto
0 Comments

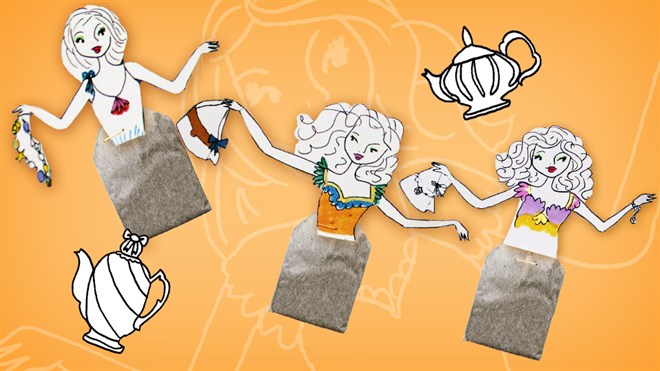
Create your own teabag!!!

3/8/2015

0 Comments

 
Foto
Tea is a perfect drink!
It's healthy and fun to drink with your friends, but thanks to this little DIY it will be even cuter!

You need ;
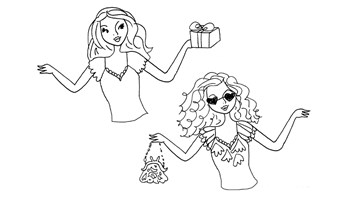
-pictures (you can use the same ones as in the example but you can also use a picture of your favourite anime character or draw something! :) )
- a tea bag
- a stapler


Foto


Step1, Cut out the images you'll use and color them in!

Step2, attach them to the tea bagd with your stapler and you're done!
ENJOY <3
0 Comments

Sailor Moon hairpins!!!

6/23/2014

2 Comments

 
Foto
Foto
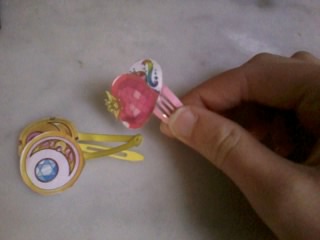
This one is very easy but I think it's also very original!

you need;
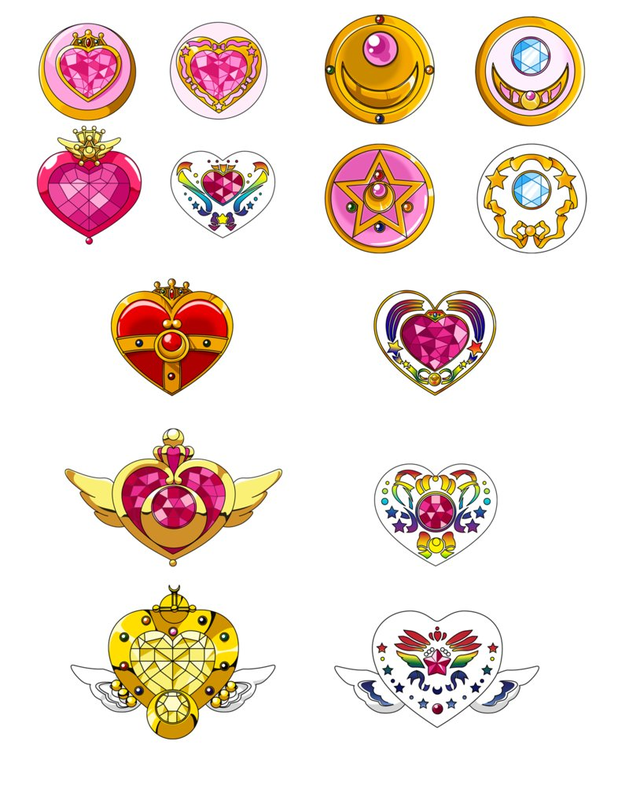
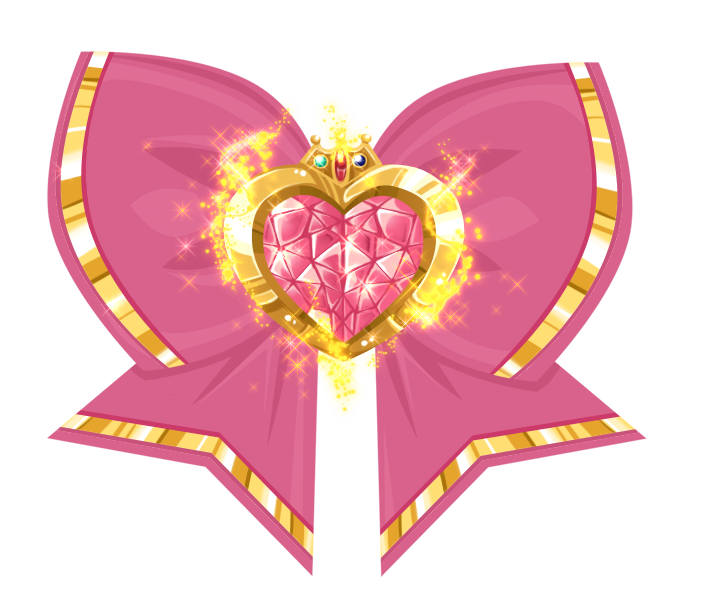
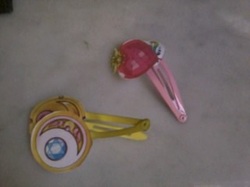
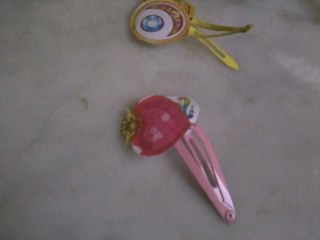
old hairpins, tape and you need Sailor Moon pictures.
Above you find 2 Sailor Moon bows and all the different brooches ( I used the brooches)

Step 1 ; cut out your picture and add it with glue; tape on your pin
       (!!!! Paint your pins first in yellow or pink, you can do that easily with nail polish!!!!)

2 Comments

Kawaii cellphone

6/23/2014

0 Comments

 
Foto
Foto
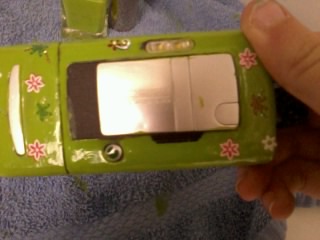
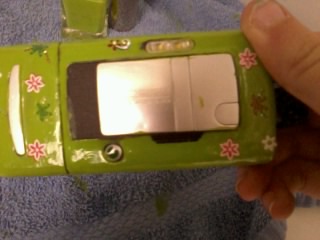
You need an old cellphone, one colour nail polish and nail art stickers ( use nail art stickers because they fit the best!!


Step 1 ; Paint the cellphone in your favourite colour with the polish ( 2 layers are the best)


Step 2; Add stickers

0 Comments

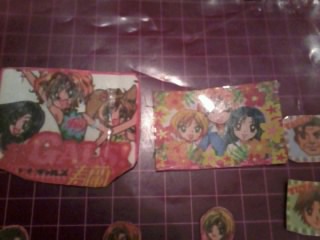
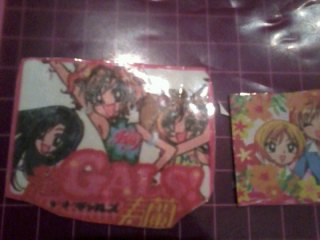
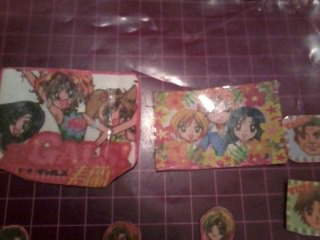
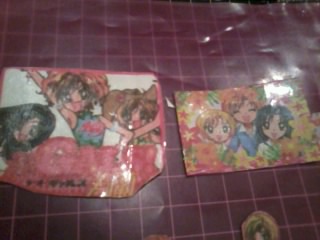
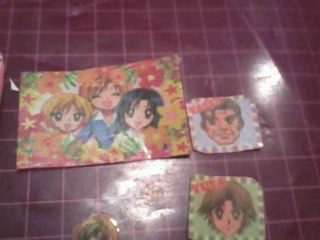
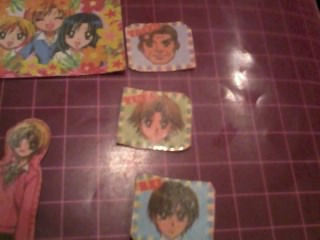
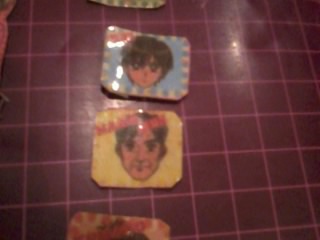
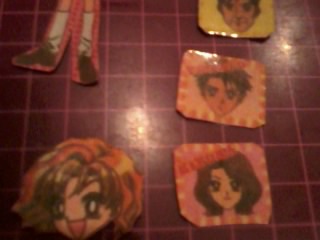
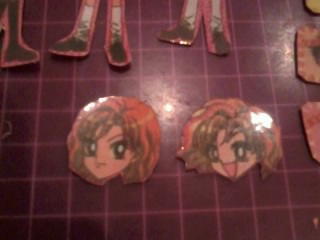
DIY Super Gals! Stickers

6/23/2014

3 Comments

 
Foto
Foto
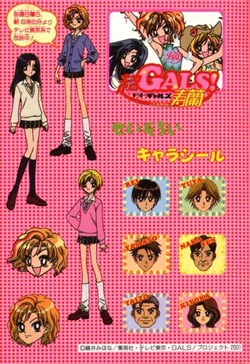
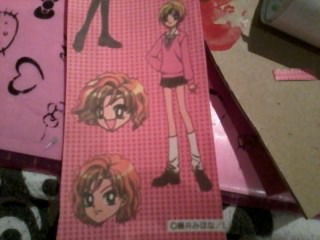
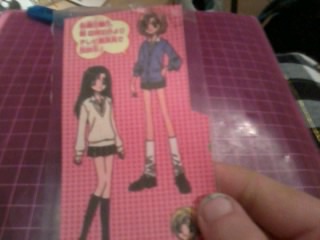
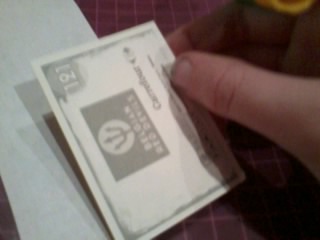
You need to print out this sheet
<-------------------------------------------------
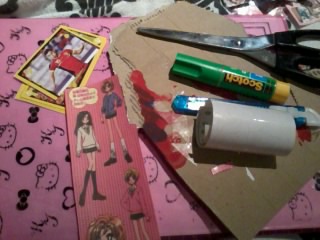
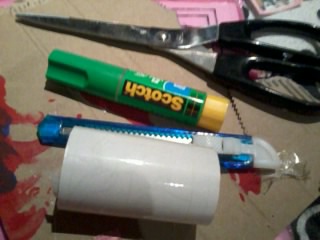
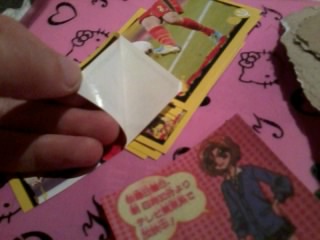
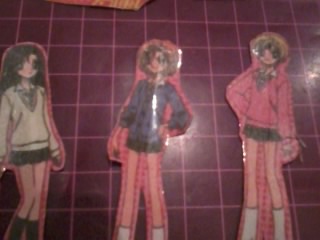
and a pair of scissors, transparent film, glue, a cutter knife and old stickers ( since it's time for the World Champion Cup, you can get easly free stickers with football players, I use them top make my own stickers)
If you don't have those stickers you can easily use dubble side tape.


Foto
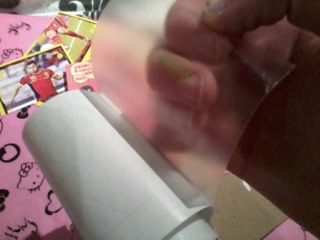
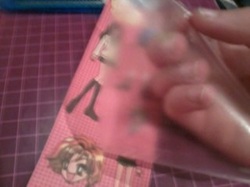
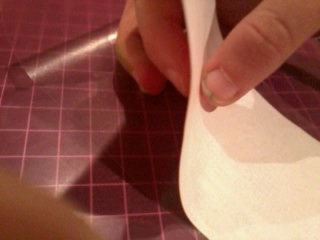
Step 1 ; Tape the transparent film over the sheet.

Foto
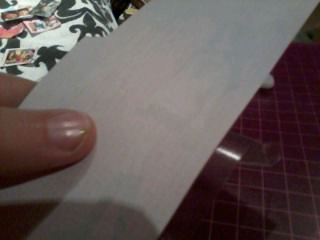
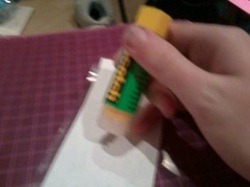
Step 2 ; Put glue on the back of the sheet and put one of the stickers ont the glued part.

Foto
Foto
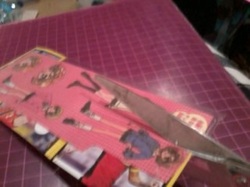
Step 3 ; Cut the shapes out and  repeat all the steps until you've used every form.

Foto
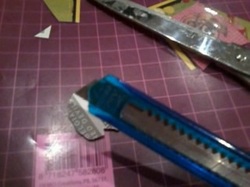
Step 4 ; turn the stickers upside down and take your cutter knife.
Make a little cut on the back off the sticker ( this way you can easily take of the paper on the back of the sticker, if you use them)

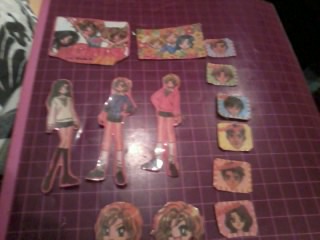
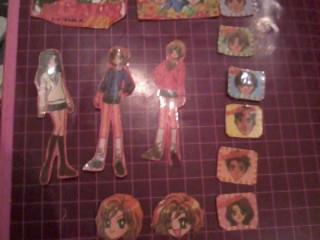
YAY! Your stickers are done!!!
3 Comments
<<Previous
    panauhin


    Amy

    Let's go Kawaii

    Kawaii

    April 2015
    Maart 2015
    Juni 2014
    Februari 2014
    Juni 2013
    Mei 2013

    Foto

    Kawaii

    Alles

Powered by Create your own unique website with customizable templates.